Showing posts with label Craft Tutorials. Show all posts

Monday, April 14, 2014

Quick Pencil Case Tutorial

Hey Everybody! This is not really a craft tutorial because it is kind of self explanatory but I will just tell you what I used to make it.
Supplies Needed: Shampoo Bottle Cover, Stickers


I hope you enjoyed this really short tutorial,

Izzy:)

Sunday, April 13, 2014

Thursday, March 13, 2014

Doll Colored Pencils: Craft Tutorial

Hey Everybody! I know you have probably all seen this idea on Doll Diaries but I decided to try it myself except I did it a little differently to make things a little easier. First make sure you have the materials:

Materials Needed:
5 toothpicks
1 rubber band
Markers (any colors)
1 pair of scissors


                        Step 1: 
Tie the rubber band tightly around the toothpick.

Step 2:                    
Trim the ends off of the toothpicks. We used the rubber bands so that the toothpick ends don't fly everywhere.

                         Step 3:                    
This is what it should look like so far.

Step 4:
Untie the rubber bands.

Step 5:
Color the tip of the toothpick and the rest except for the tiny part after the tip. Use any color you like. Repeat the rest of the steps until you have the desired amount of colored pencils.

Have Fun!!


Izzy:)


Monday, March 10, 2014

Tour and Quick Tutorial On Isabelle's Ballet Room

Hey Everybody! A couple of you were wondering how I made my background for all of the posts. The one with the ballet barre. So here is a small tour and some tips for creating the ballet barre.
Isabelle's room is actually a small corner in my room that I use for my dolls. Every now and then I transform it into something else such as a bedroom, a doctors office,or even a restaurant. To make the barre I used a bar from a dresser that we got from Walmart and put ribbon through it. I tied the ends to command hooks as shown on the picture below. If you don't have a bar you could use a paper towel roll.

Here is how I tied it

I added stickers all over and I printed out a couple pictures on the Internet. I used scrap booking paper to  create the sign.

I hope you enjoyed the tour,
Izzy:) 
.


Thursday, February 20, 2014

Create your own doll sized Popcorn

Hi! It's Hannah and I'm here to show you how to make your own Popcorn for dolls. I originally got this out of the american girl book called doll play which you can purchase for $9.95 on the american girl website by clicking right here. The book also has lots of other great crafts that me and Izzy will be reviewing later. Enjoy!
Here is the popcorn. It almost looks real.

       
Supplies:
1 yellow marker ( it doesn't have to be scented)
1 piece of Styrofoam
Step 1: Break off a smaller piece of Styrofoam. You can skip this step if you already had a small piece.

Step 2: Pull off an even smaller piece of Styrofoam.

Step 3: Use the yellow marker to color the small piece of Styrofoam.

Do this until your bowl of popcorn is full.

*Hannah*


Tuesday, February 18, 2014

How To Organize Your Doll Stuff

Hey Everybody! While I was going through my doll stuff I realized how disorganized my doll stuff was so I decided to put my doll stuff in multiple bins. I made bins for the accessories, shoes, shirts, and pants. After that I simply added labels with colored post it notes. Here are some pictures:
These are the shoes and accessories bins.

Here is the bin for shirts and sweaters. I also put one of my doll leotards inside.

Here is the bin for shoes. I have a couple of odd ones inside.

Here is the bin for my accessories. You might see more of these later.

Here is a sideways shot of all of the bins.


Izzy:)
P.S Don't forget to watch for who wore it best Wednesday tomorrow.


Sunday, February 16, 2014

My American Boy Doll

Hey Everybody! I have been kind of bored waiting for Isabelle to come in the mail so I decided to do some searching through my doll stuff and I found my old Samantha doll. Samantha's hair was all ratty and not in good condition. Her legs and arms were so loose that I am surprised that they didn't fall off right then. Here are some pictures of her:

Here is Samantha attempting to stand up.

So I tied the hair styling cape around Samantha and decided to turn her into an american boy doll. I got some scissors and with the help of Hannah we managed to cut Samantha's hair.

Samantha is now renamed Nick. We used some hairspray to make Nick's styling hairstyle. We removed all of Nick's lip coloring. I made Nick's shirt using an old black sock and some stickers. The pants are from american girl. Nick will appear in a photo story later.

Izzy:)


Sunday, February 9, 2014

Guess My New Doll

Hey Everybody! I am finally going to get a new doll and you get to guess which one I'm getting. I will give a clue every other day until she arrives.
Here is the first clue:
Savannah is posing for the camera.

Izzy:)
P.S Savannah is wearing the sweet spring dress from american girl.


Wednesday, February 5, 2014

Doll Sized Tissue Boxes

Hey Everyone! Today I will be sharing where to get doll sized tissue boxes for your dolls just in case your doll catches a cold from playing in the snow for too long. 

This first tissue box can simply be found at the dollar tree. It comes in a pack of two with a different pattern on each box. 

The second tissue box is from when Kleenex offered a free mini tissue boxes when you buy a big box of Kleenex tissues. This was called Softness worth sharing because you were supposed to send it to a friend. I got this last year and I don't think they are still doing this.

Kit is having a sick day. :(

Izzy:)


Sunday, February 2, 2014

Valentine's Day Hairstyle Tutorial #1

Hi Everybody! Today I will be sharing this cute valentines day hairstyle that is really quick and easy to make. All you need is a handful of tiny red and pink elastic bands. Rubber loom bands work best. You will also need a wire pick hairbrush. This hairstyle is pretty simple and should only take a couple minutes to create.
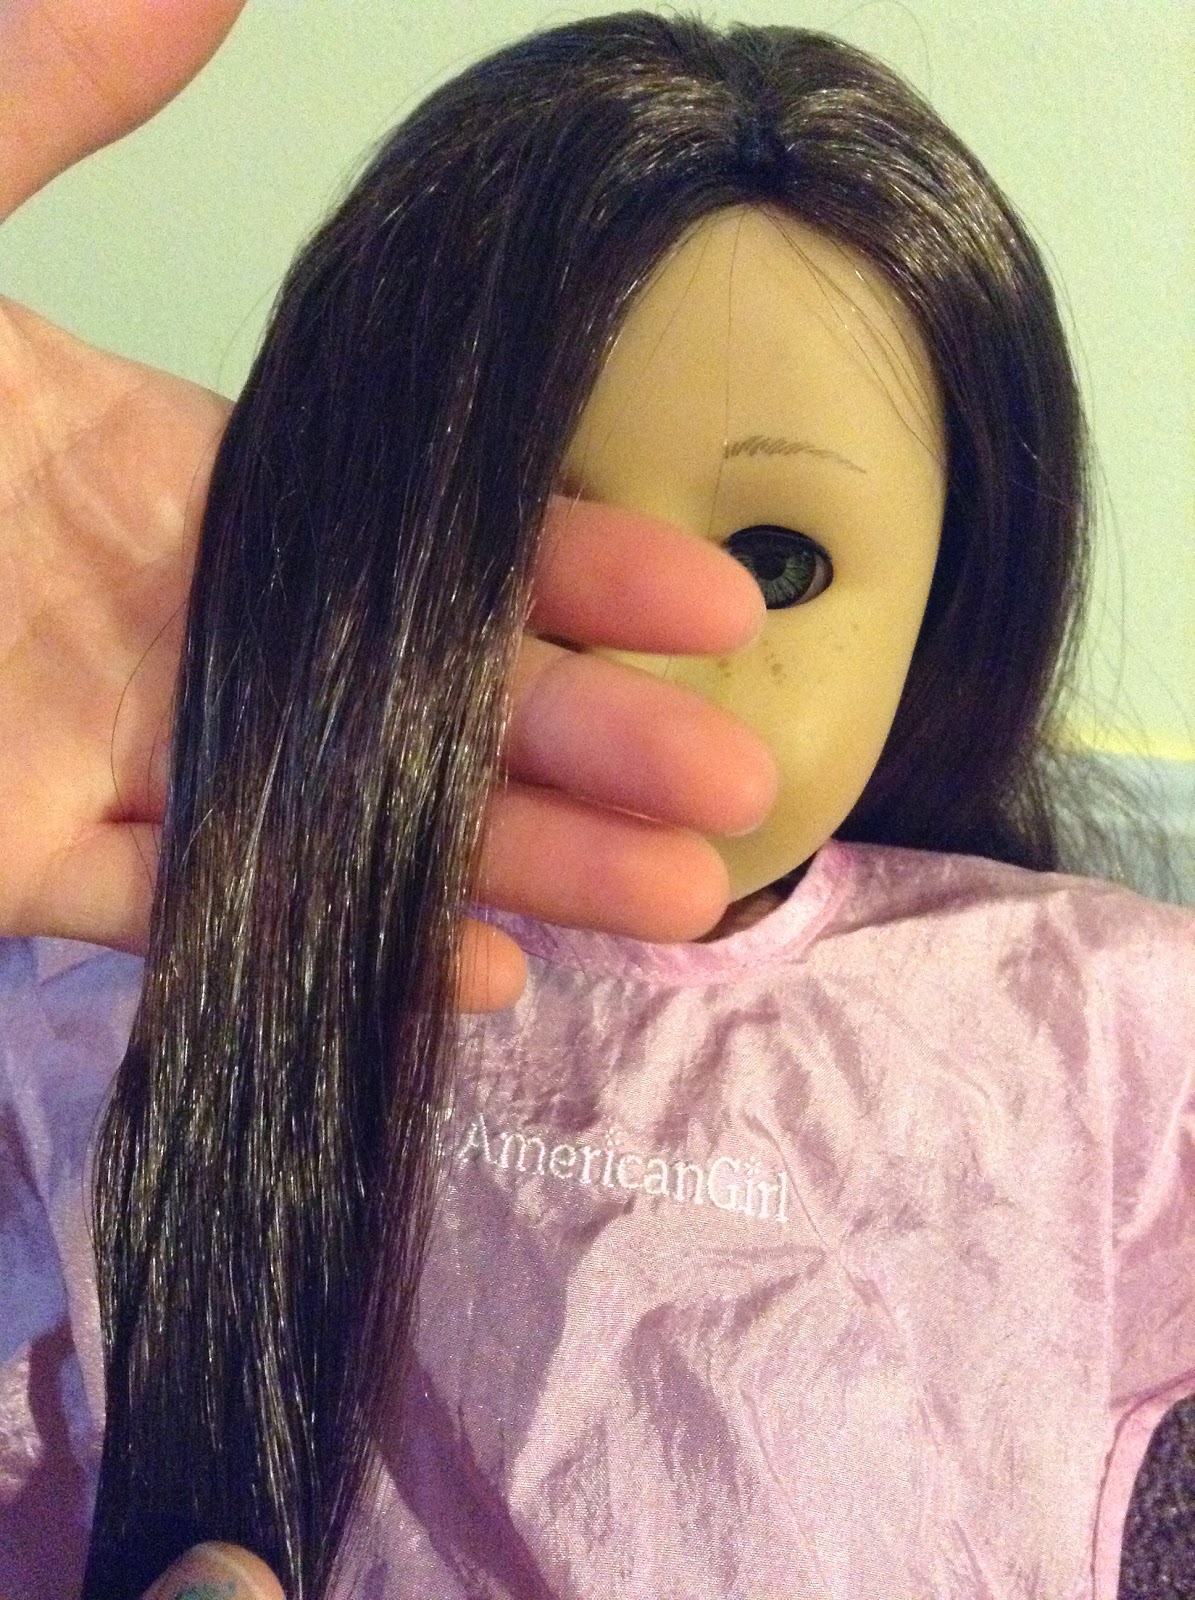
Kylie is modeling this absolutely stunning and easy to create hairstyle.

Step 1: Gently comb out your dolls hair from top to bottom until it is nice and silky. 


Step 2: Pull the front part of the hair into one section.


Step 3: Pull the section into 3 smaller sections.


Step 4: Braid the three sections together. Do the same on the other side.

Step 5: Secure each side tightly with a rubber band elastic.


This is what it should look like so far.

Step 6: Take the elastic bands off for both of the braids and tie them together using one of the bands. Now tie the remaining hair to the connected braids to form a ponytail.

Step 7: Gently slide each band onto the ponytail using the red and pink bands.

This is what it should look like in the end.


Hannah 


Create your own MINI MAGAZINES

Hey Everybody! Today I wanted to share how to make mini magazines that I created for my dolls dance studio waiting room. The best part about this cool craft is that it is really easy and only takes a couple minutes to make.


All you need is:
1 stapler
1 brochure or flyer
1 pair of scissors
Step 1: Cut a small picture from a brochure or magazine.


Step 2: Cut the picture to the perfect size.

Step 3: Staple the pictures together using 1 staple.

Step 4: Now you have a mini magazine.

Step 5: Fold each page of the magazine to give it a 3D look.


Savannah reading a mini magazine.


Izzy:)